Showing posts with label cookies. Show all posts

Thursday, March 8, 2012

The Sisterhood of the Flat Hamantaschen - Cookies for Purim!


Yesterday marked the start to the Jewish holiday of Purim, and for me that's always meant Hamantachen. The jam-filled tri-cornered cookies would always make an appearance in my neighborhood bakery around this time when I was little, and I'd clamor for my mother to get them for me. They were made pretty big, the cookies were about the size of a small fist, and set out while they were still warm. The cookies themselves were buttery and tender, and the jam (or poppy seed) filling was so gooey and tasty. 

My family isn't Jewish, so we didn't celebrate the actual holiday, but I had read about the history of Purim via one of the bastions of my childhood knowledge: Highlights for Kids magazine. Basically, Haman, the advisor to King Ahasuerus, tried to knock off the all the Jews, but was thwarted by Queen Esther and her cousin Mordecai. Obviously, this is something to celebrate, and much drinking and feasting ensues. Hamantash (the singular, of course) either refers to Haman's three-cornered hat or the shape of his ears, depending on who is retelling the tale. 

I'd always wanted to make some of my own, and I figured that now was a good a time as any. I enlisted my friend Rachael, one of my favorite Jews, to help me and share in the cookie goodness. After looking through a bunch of recipes, I decided to use one from Smitten Kitchen because it used cream cheese in the dough...and that made me curious. The recipe for the dough is also super easy. 

I am...the Hamantaschen whisperer. 
Ugh, I shouldn't take photos sometimes. I'm such a creeper. 

ANYWAY. The dough only needs cream cheese and butter, one egg, sugar, orange zest, flour, and salt. It was pretty sticky, so I used a couple of pinches of flour to get it into a ball. The recipe said to let the dough hydrate and chill in the fridge at least an hour....I think we left it alone for 45 minutes before we got impatient and set to rolling it out. 


Look at those flecks of orange zest and little chunks of butter! We knew this dough was gonna be GOOD. I rolled it out to about a 1/4 inch thickness, and used a drinking glass to cut out circles. We didn't have circular cutters on hand, so unless we wanted to have pumpkin-shaped cookies, we had to improvise. 
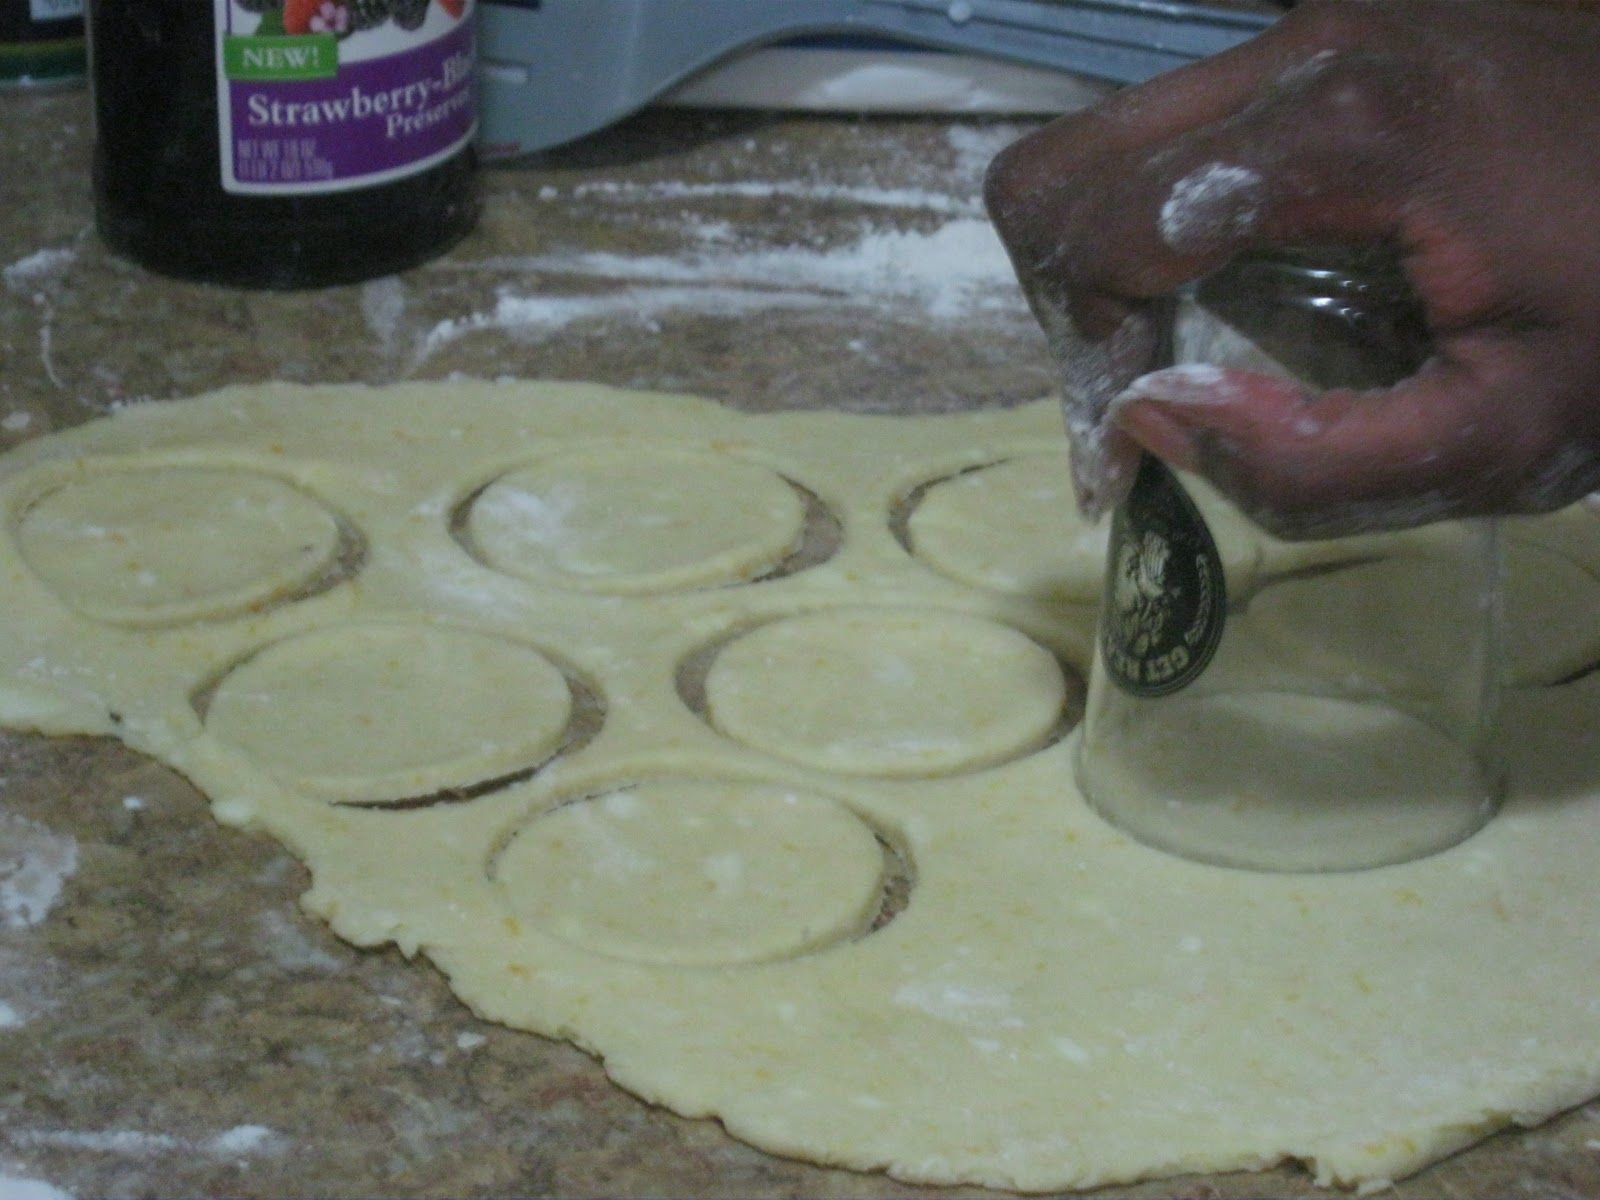

To fill our cookies, we decided to use two different types of preserves: apricot and strawberry-blackberry. For each cookie, we used a little less than a teaspoon of preserves. Place the preserves directly in the middle of the dough circle, then pinch your circle to create three points. You can use a little water or an egg wash (one beaten egg + a little water) brushed around the edge to make sure the points stick together easier.
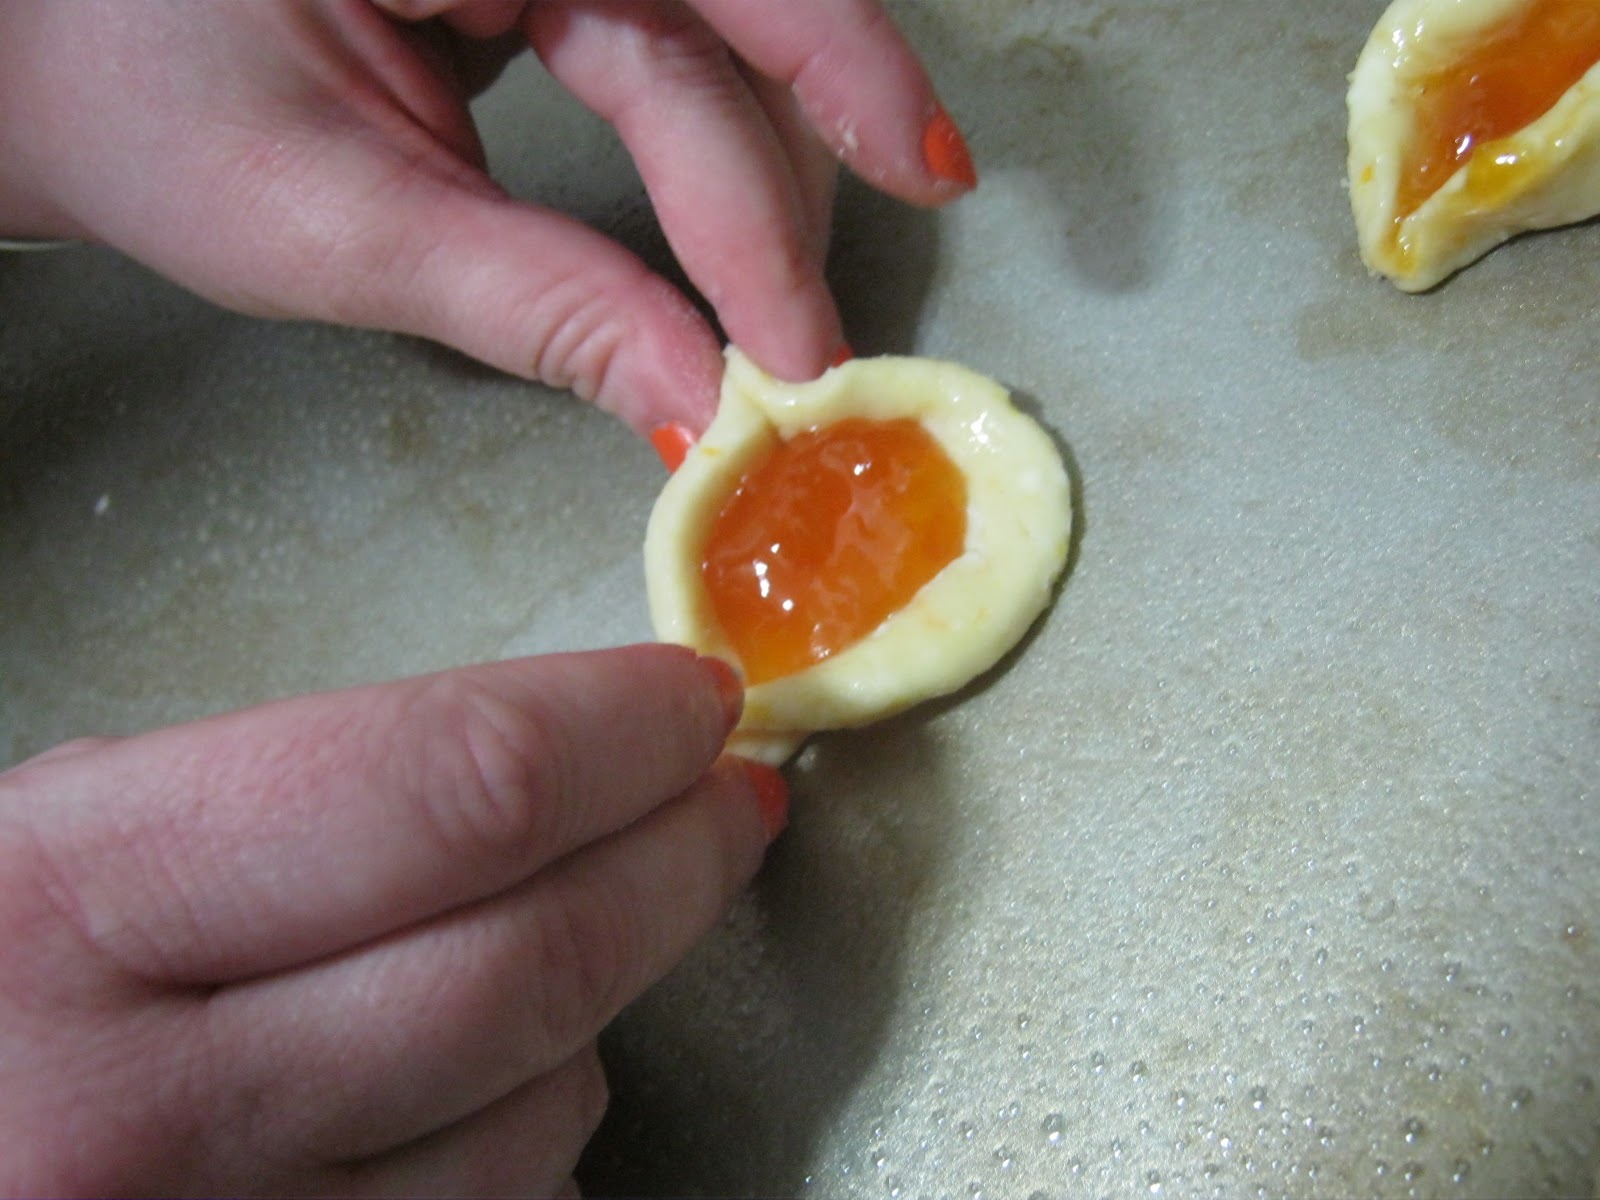
Rach is wearing orange nail polish in honor of the Syracuse Orange basketball team. She loves 'em. 
She used the apricot preserves, and I was in charge of the strawberry-blackberry. 
The cookies baked in a 350 degree oven for about 20 minutes, until the dough was golden and the preserves were bubbly.

Our first tray of hamantaschen:


Maybe we should have let that dough stay in the fridge a while longer?


Oh dear. 

But wait!


There was a cutie to be found in the bunch. 

We let them cool, and then dug in heartily. The cream cheese added a lovely tenderness to the cookies, almost like another Jewish favorite, ruglelach. I loved the inclusion of the orange zest, which gave a little zip to the dough, without overwhelming the filling. 

We had some dough left over, and after a brief sojourn in the fridge, we rolled it out for more hamantaschen....


Flat as damn pancakes. I think only one (on the far right), was the only one that came close to looking sort of normal, and not like a gaping maw. 

Whatever. With a glass of milk, they were still crazy delicious and we had a blast making them. Happy Purim, everyone!

Wednesday, January 18, 2012

BabyCakes's Madeleines


Instead of normal Christmas gifts, I had thought it would be nice to give my friends some tummy warming baked goods. For my friend Tana, I had decided to make her something out of the latest BabyCakes cookbook: BabyCakes Covers the Classics by Erin McKenna. We've really taken to this adorable little bakery, which happens to feature a lot of gluten-free and (GASP!) vegan delicacies. I got this cookbook a couple of months ago, and I've been itching to make something tasty from it. After many hours of page turning, I finally decided upon the adorable looking madeleines.

Madeleines are basically little plump cookie cakes. Most recipes are usually flavored with lemon or vanilla, but when I worked at Balthazar Bakery, they rotated pistachio and chocolate too. All of them were incredibly moist and delicious. And who could resist its cute scallop shell shape? Just waiting to be dunked into a hot cup of chocolate or tea.

Now, the ingredients list did look a little daunting, but you can find all of this stuff at Whole Foods or any well stocked supermarket/health food store. Personally, I used all three resources, and got everything I needed at a reasonable price.

Makes 24 Madeleines.


1/2 cup melted refined coconut oil or canola oil (I used canola oil because it's less pricey. I used a great coconut baking/cooking spray to grease the pans. You can use the canola to do that too. Refined coconut oil doesn't have a strong coconut flavor, so don't worry if you're not a fan.)
1 1/4 cups white or brown rice flour
1 cup vegan sugar
1/2 cup potato starch (NOT POTATO FLOUR)
1/4 cup arrowroot
2 1/2 tsp baking powder
1 tsp salt
1/2 tsp xanthan gum
1/4 tsp baking soda
6 tablespoons unsweetened applesauce
3 tablespoons vanilla extract
1/2 cup hot water
1/2 cup vegan powdered sugar (I couldn't find this for the life of me. So I didn't use it.)

Preheat the oven to 325 F. Brush 2 madeleine trays with coconut oil (or you can use the canola oil, or in my case, your trusty coconut oil spray) and set aside. Line a baking sheet with parchment paper.

In a medium bowl, whisk together the flour, vegan sugar, potato starch, arrowroot, baking power, salt, xanthan gum, and baking soda. Add the 1/2 cup coconut oil (or canola), applesauce, and vanilla and stir with a rubber spatula until the batter is smooth. Gradually add the hot water, stirring constantly, until incorporated.

Drop a rounded tablespoon of the batter into each mold, gently spreading it to fill the mold (make sure you fill them so they'll rise up nice and plump). Bake for 12 minutes, rotate the trays, and bake for 6 minutes more, or until the tops of the madeleines are golden brown. Remove from the oven and let stand in the trays for 15 minutes. Place the cooled madeleines on the prepared baking sheet and dust the tops with the powdered sugar.

Look at how beautiful and brown they came out! The coconut oil gives the cookie a beautiful, crunchy, buttery crust. Next time, I'll use coconut oil in the batter, too. Inside, the cookie was moist and fluffy, with a fragrant vanilla aroma.

A dozen of these were nicely packed away in a holiday box for Tana...and the other dozen? Well, those stayed right at home with me. And they were delicious dunked into a big cup of hot cocoa. Try them!

Friday, March 4, 2011

Oneshot: Nutella Cookies!


Nutella is the Lolita of spreads.

Skim milk, cocoa, and hazelnuts...how can three ingredients combine to make something that most people, including myself, have no problem eating straight out the jar? Eff using a spoon. I use my fingers. And I refuse to share.

So naturally, when I saw a recipe on Tasty Kitchen, an amazing recipe/blog/sharing site, for Nutella COOKIES..well, you know I had to go and make it. Especially, b/c it's so damn easy! Only 4 freaking ingredients necessary.

One egg.

A half cup of sugar.

One cup of Nutella.

One cup of Flour.

That's it! The end. In the recipe post, a stand mixer is used to combine all of the ingredients together...seeing as that most of my money goes to student loans, I used good old fashioned elbow grease, and a wooden spoon. I should have probably taken a picture of it...but the spoon snapped right in half...but, I'm getting ahead of myself! Preheat your oven to 350 degrees, and prep your baking sheet (or, sheets).

Start by mixing the egg and sugar together...I made a double batch of these lovelies so I could bring some to work the next day. I doubled the quantities of everything, so keep that in mind. Whisk them together so they're nice and combined. Then, add in your Nutella. This is probably when you should switch over to a wooden spoon to make your life easier.

The last thing I added in was the flour, which i did in 4 parts, stirring after each addition. This is where it gets a little hard. If you have a stand mixer, you'll be fine. If you don't, you'll end up with a broken wooden spoon like yours truly. As it starts getting tougher to mix, switch over to a metal spoon. It seemed to be getting a little too dry, so I only used about half of my last part of flour. When it was good and mixed, I put some plastic wrap over it and let it rest for 10 minutes in the fridge.

I used a tablespoon to scoop out the dough and rolled it into balls with my palms. I fit about 12 on my non stick cookie sheet comfortably. Now, the recipe said to use the bottom of a drinking glass to flatten them out. The dough balls were pretty sticky, so I dipped the bottoms of the glasses in sugar, then flattened the dough. No sticking! And now the tops of the cookies would have a nice sparkle and crunch. I wanted them to stay chewy in the middle, so I only flattened them slightly. Put these in the oven for about 7-8 minutes until set. Cool on a rack, and repeat until you've baked up all of your cookies.


Sparkles! That sugar was a good move. I loved the texture and flavor of these cookies! The taste of the Nutella wasn't overpowering in the least, and the crumbly edges and super chewy middle of the cookie was addicting. One problem though, these will stick to your teeth like no other, so be prepared to brush your teeth afterward! I stored these in Tupperware with a slice of bread to keep them soft til the next day, and they tasted even better.

A few notes for next time:

I would probably change some or all of the sugar to brown sugar. I'd be interested to see how the Nutella and the slightly caramel flavor of the sugar work together. Plus, the molasses in the sugar (that's what makes real brown sugar brown), would keep the cookies extra moist.

I would also rest these in the fridge longer. Because there really isn't any liquid in the dough, a longer time in the cooler would give the dough a better chance to absorb the water in the eggs. Plus, the cookie would spread slower.

I'm also curious to see how the cookie would taste with some cinnamon added to it. Cinnamon + chocolate = YUM. Yay for for experimenting!

Try these beauties out, and let me know how you like em. Thank you so much Miss Amy and Tasty Kitchen for sharing!